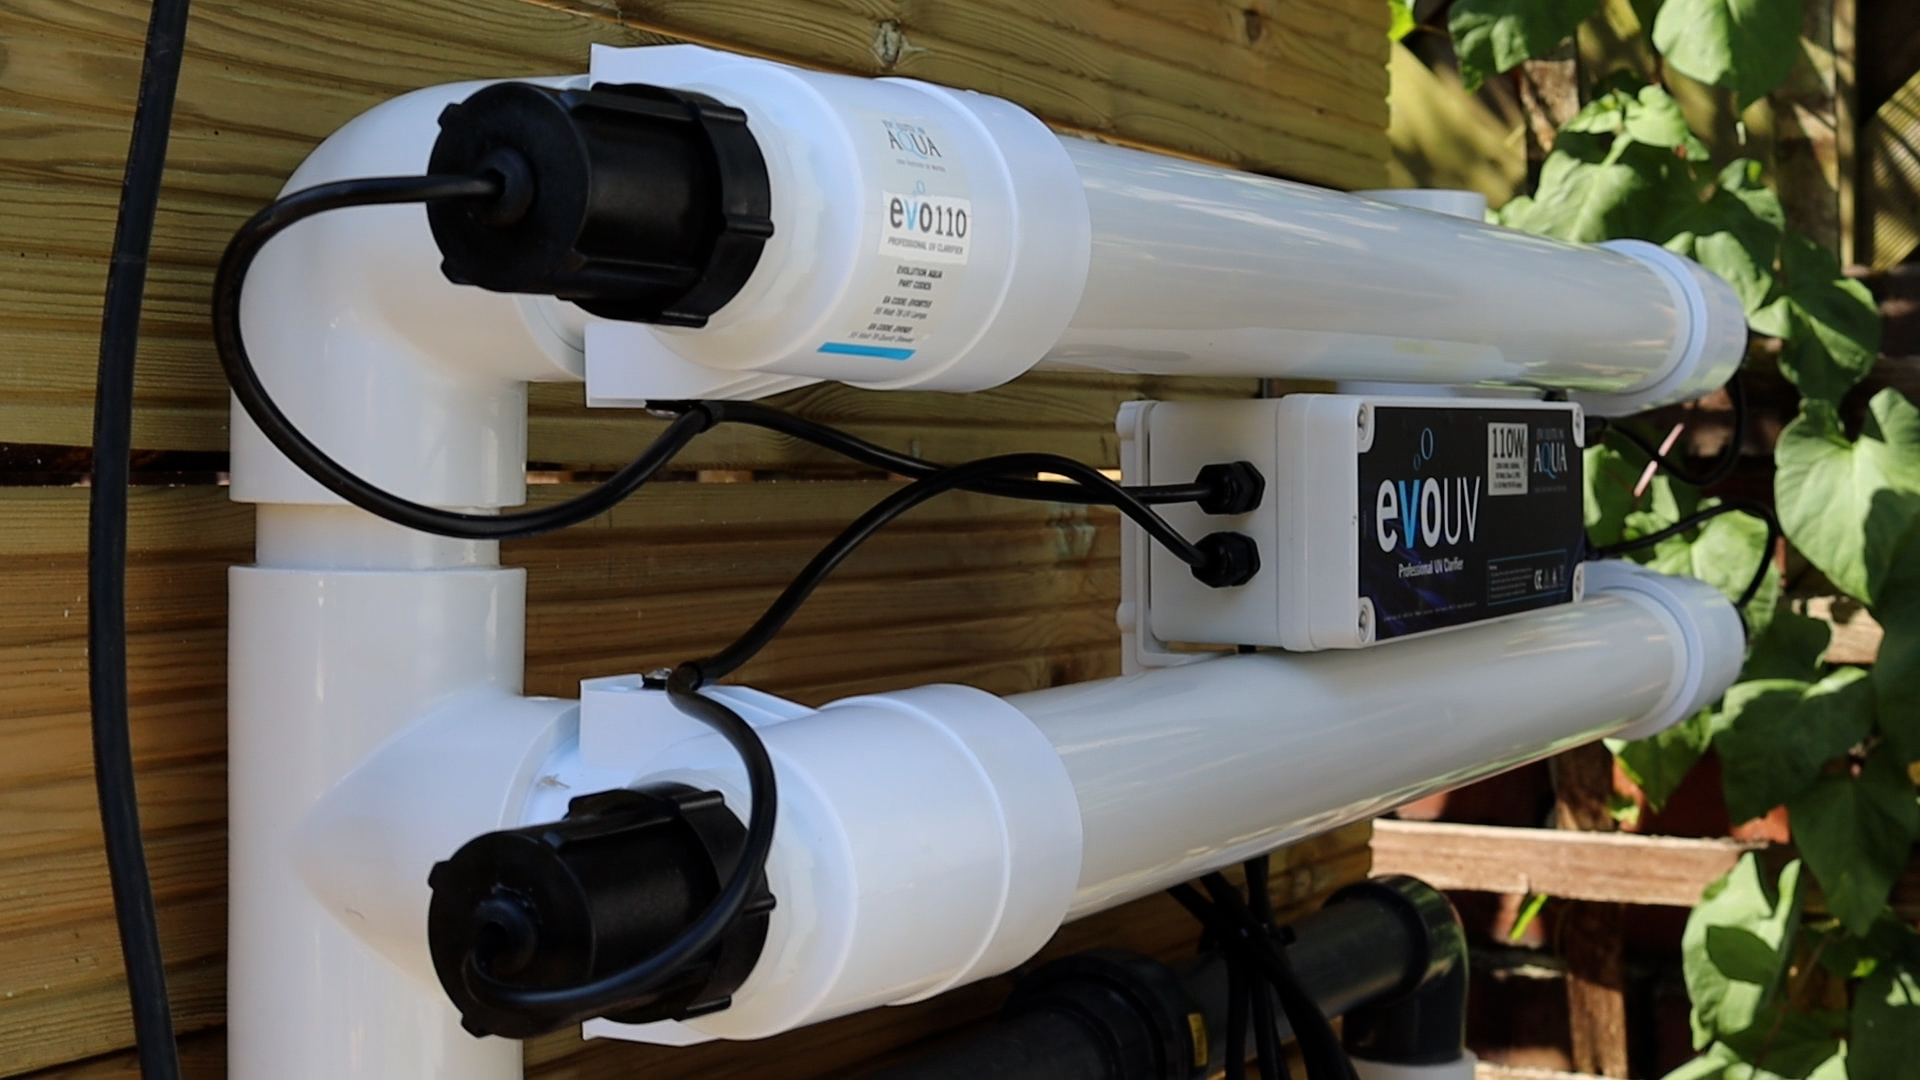
UVC units

5 Top Tips - Make The Most of Your Pond UV
Modern UVs have become vital preventative equipment that benefits the pond and its inhabitants. Follow our top tips to make the most of your UV clarifier this Spring.
1) INSTALL YOUR UV AFTER THE FILTER
Install your UV unit after the filter when the water is already clearer.
Additionally using a Tempest polisher (which removes even the smallest particulate debris from the water) before your UV unit will ensure an impressively low NTU level, and represents the most effective UV set-up.
2) SET THE CORRECT FLOW RATE
The effectiveness of the UV-C unit is all about contact time, so you need to make sure you set the correct flow rate as per our recommendations click and scroll down to our specification table: www.evolutionaqua.com/evouv.
Don’t send the water too quickly through the unit. You can’t have too much UV, but you can have not enough. You want the algae to pass slowly and close to the bulb to get the full effect of the germicide of the lamp.
3) MAINTENANCE
For optimum effectiveness, we recommend changing the lamp at the beginning of each year. Find your nearest EA stockistto order yours now.
4) USE A BYPASS KIT
A bypass kit is often something that is overlooked but is very useful for many koi hobbyists. Make a bypass between the inlet, outlet and include a third ball valve, you then have full control of the flow that goes through the UV. Want to know more about its benefits? Check our short article now. https://evolutionaqua.com/news/bloguvcbypass
5) WHEN?
It's best to turn on your UV light at the beginning of March, this is usually when people start feeding their fish, as a result, you get excess nutrients in the pond because the beneficial bacteria have not grown yet and the sun starts to come out. In the winter you can turn your UV light off to save on energy.
OTHER RESOURCES:
» Blog post: The Science behind your Pond UV light
» Video: How to set up and install an Evolution Aqua evoUV
» Webpage: How our evoUV works
» What size evoUV do I need for my pond?
» FAQs