If the pump is situated below the water level, it must have a non-return valve fitted to stop water siphoning back into the pump if there is a power cut.
The diaphragm may need replacing, we recommended these are replaced annually. View diaphragm kits
The airpumps are weather proof and can be used outside, they are not waterproof so do not situate in a position where they are likely to be flooded
All the parts in the air pump can be replaced, if you have replaced the diaphragm kit and you pump still does not work it may be the electro-magnet. View electro-magnets
The airpump is mounted to the base on rubber grommets, it is possible one of these has come out. Please refer to the manual and check the exploded diagram on page eleven, you will need a screwdriver and a pair of pliers to repair.
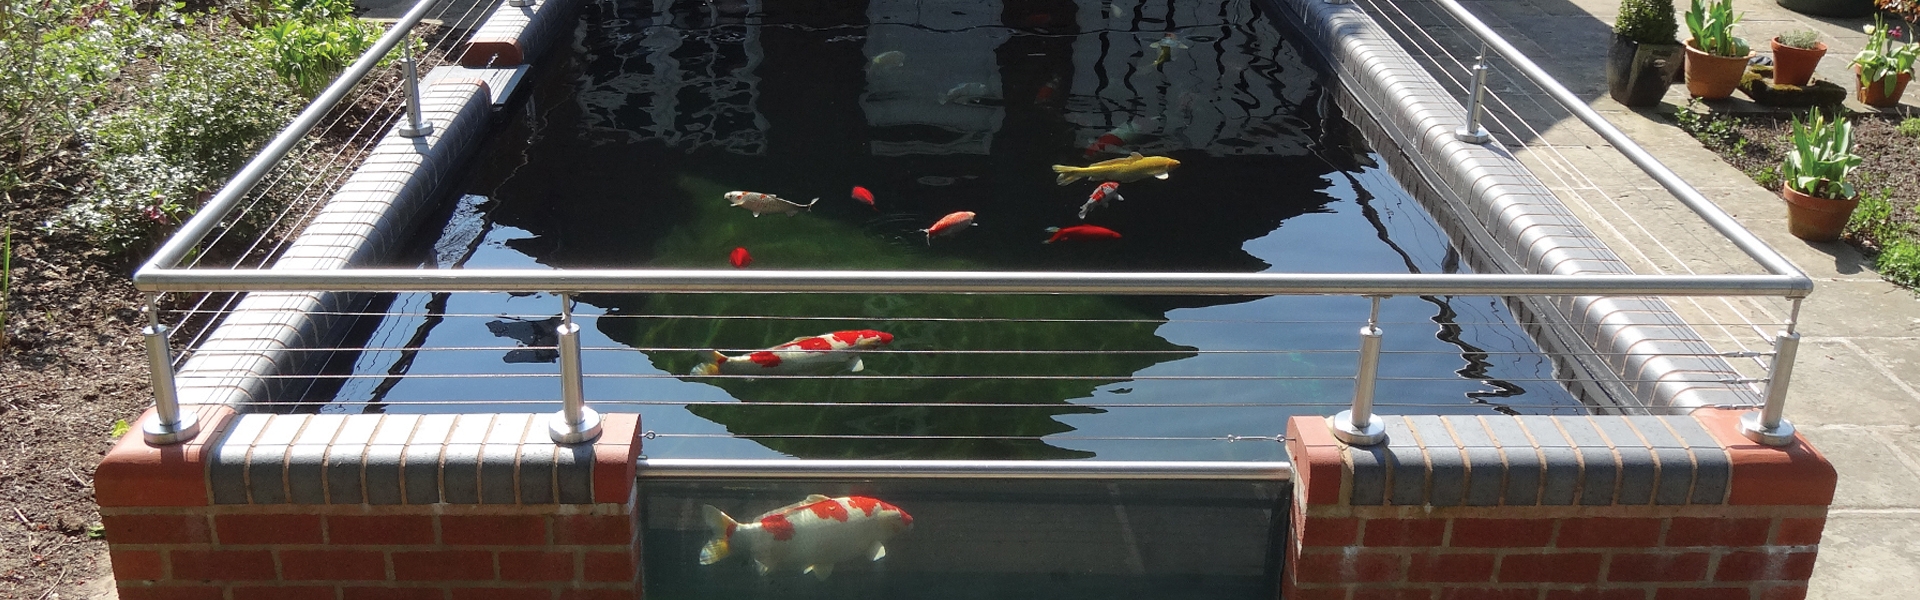
The air stones need to sit at the bottom of the pond to provide extra aeration. You use the supplied manifold to divert the air from the air pump, so air can be used to clean the EazyPod and also to aerate the pond via the air stones. This illustration shows a common pump fed set up:

To clean the filter on your airpump, follow the steps below or watch our YouTube video here:
Step 1: Loosen the screw on top.
Step 2: Remove the plastic filter cover.
Step 3: Take the filter out and clean it with clean water and dry it.
Step 4: Put it back and secure the fixing plate with the screw in.
To change the activating arm on your airpump, follow the steps below or watch our YouTube video here:
Step 1: Loosen the four screws around the cover and remove.
Step 2: Loosen the four screws around the coil cover and remove.
Step 3: Loosen the four screws around the diaphragm housing.
Step 4: Release the clip and dismantle the diaphragm housing.
Step 5: Loosen the nut. Remove both the nut and washer.
Step 6: Remove the diaphragm and repeat on the other side.
Step 7: Remove and replace the activating arm.
Step 8: Re-fit the diaphragm and repeat on the other side.
Step 9: Re-fit the nut and washer and tighten them up.
Step 10: Re-fit the diaphragm housing back into place.
Step 11: Re-fit the four screws and tighten them up.
Step 12: Re-fit the clip and repeat on the other side.
Step 13: Re-fit the coil cover and four screws, then tighten them up.
Step 14: Re-fit the cover and four screws, then tighten them up.
To identify the size of Airpumps, please click from one of the below options:
To identify the Airpump curves, please click from one of the below options:
To change the electromagnet on your airpump, follow the steps below or watch our YouTube video here:
You may find that your Airpump has a two pin plug - cutting the plug will not void your guarantee.
The plug can be cut off and wired into a safe, compliant, outdoor electrical system, with an RCD cut-off. If you are unsure, consult a qualified electrician.
![]()
Airpump Manual
![]()
Airpump Spares
